
Suspension calculator
How far does each wheel move, and what stops it? How well does the truck flex, and which axle does the work? What do the sway bars give on the trail and cost on the highway? Pick your truck, then add parts one step at a time. Every flex gain sits next to what it costs on the road.
How to use this 3 steps
- Pick your truckIts factory wheel travel, springs and sway bars fill in where the maker publishes them. Your lift, tires and weight come from your saved rig.
- Add parts one at a timeThe front, the rear, the sway bars, the axles. Each part shows what it does to travel and flex, and what it costs in ride height, up-travel or body roll.
- Read the verdictTravel at each corner and what stops it, an RTI on a 20° ramp, and body roll on the road. Switch between Trail and Road to see both sides of a sway bar setup.
You can skip the folds under your truck. Open them to correct a factory figure, set your lift and the load you carry on a trip, or type what you measured. Measured always wins.
Pick your truck to see its wheel travel and flex.
Wheel travel
Where these numbers come from Shock strokes, ratios, limits
What each part does
Where these numbers come from How each part is counted
Trail and road
Where these numbers come from Roll stiffness, the ramp, the road
Estimates. Ramp scores depend on the ramp, the tires and their pressure, and how the truck is driven up it; body roll on how the truck is loaded and how worn its bushings are. Measure yours to know. Use at your own risk.
Against stock rigs
RTI on a 20° rampWhat stops the rear
Known on your truck
What stops the front
Builds and changes to try
Try it shows the change without saving it. Tap Showing again, or Back to my truck, to return to what you entered.
Links go to the makers or the retailers that list them. Check fitment for your exact year and trim before you order.
How the numbers work
How is wheel travel worked out from parts?
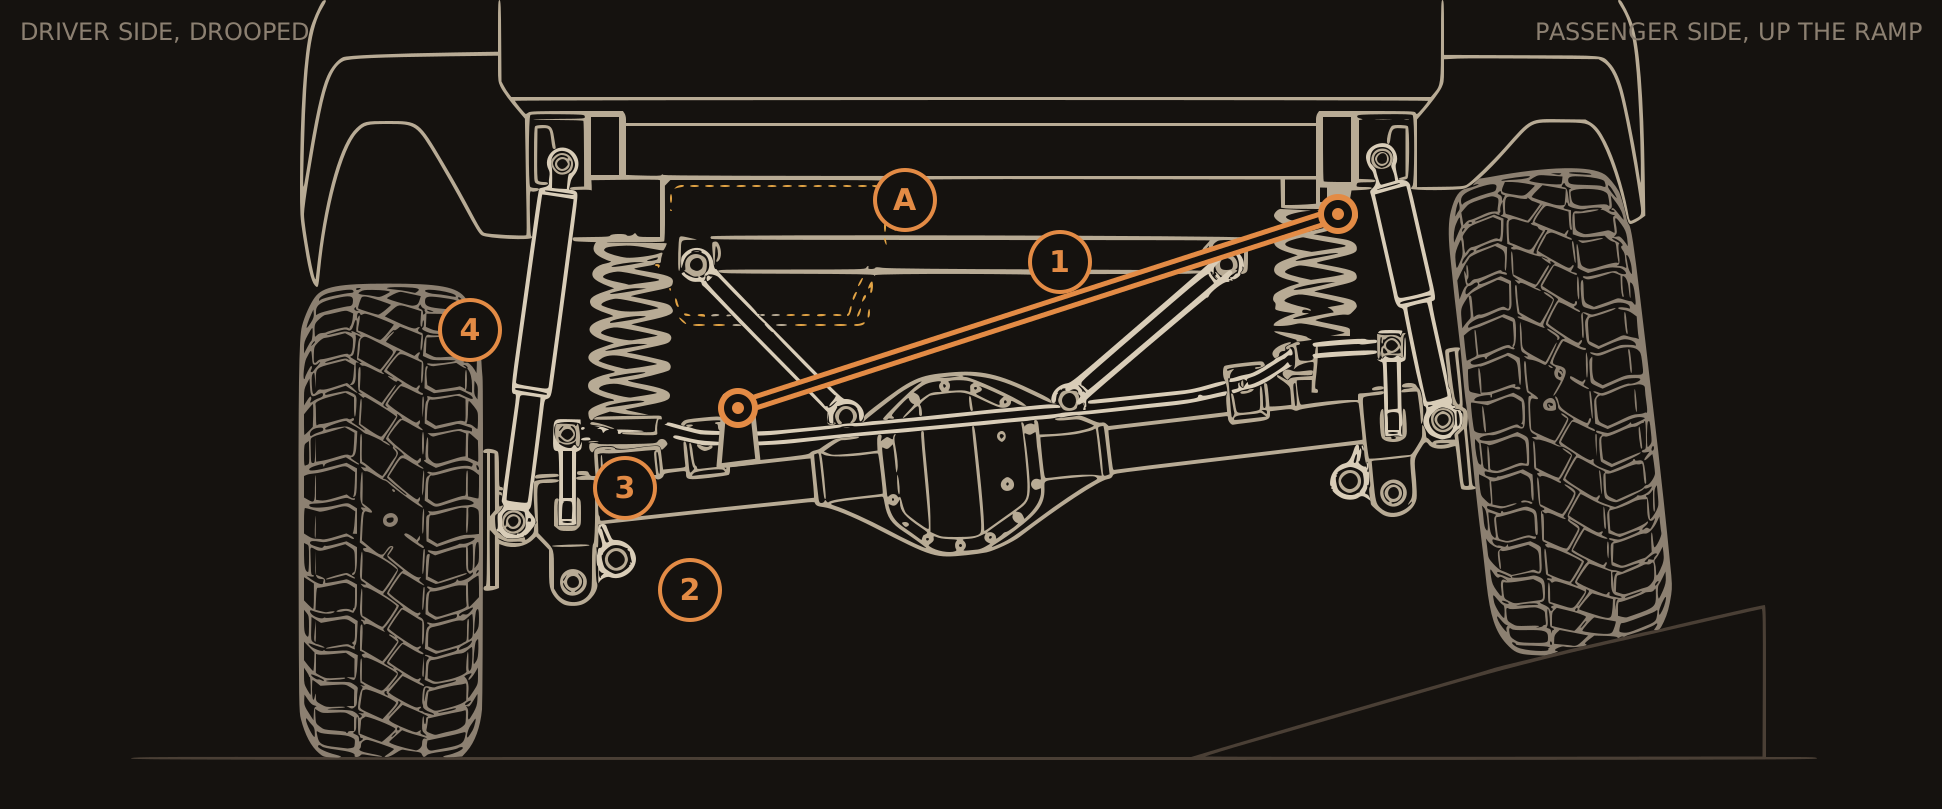
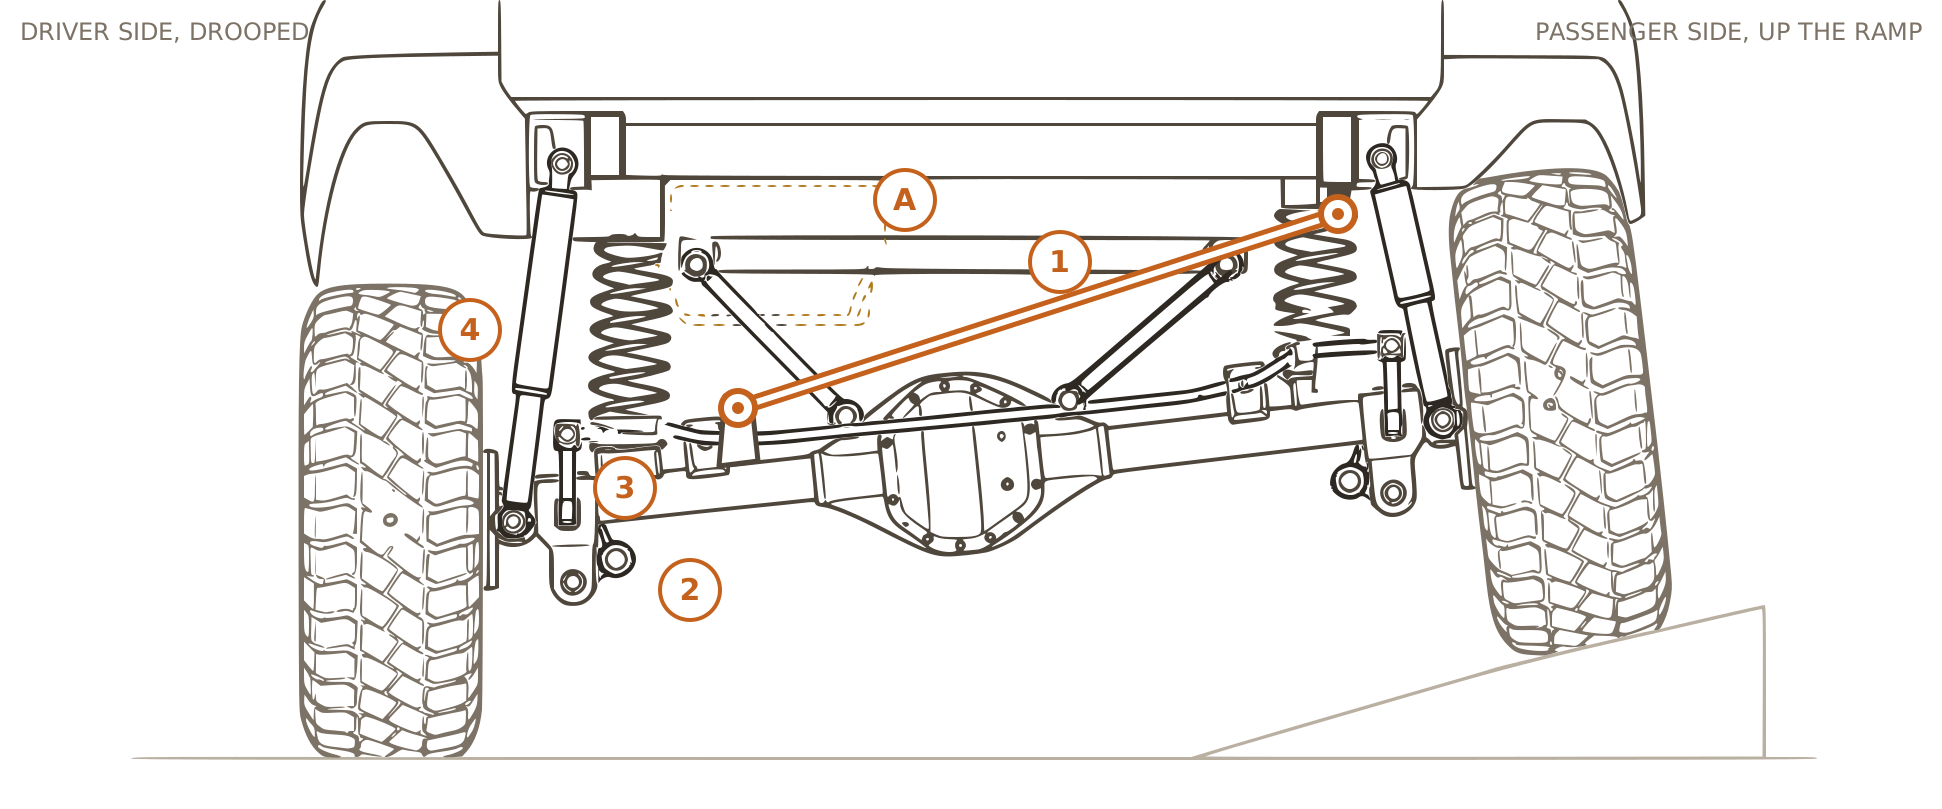
Each end of each corner stops at whichever limit comes first, and the page names it. Up-travel ends where the shock bottoms or the bumpstop comes solid. Droop ends where the shock tops out, a limit strap pulls tight, the upper ball joint runs out of angle, or something owners report gets in the way. On IFS the shock sits partway out the lower arm, so the wheel moves more than the shock: about 1.75 times as far on a Toyota IFS front, a ratio of about 0.57. A lift sets ride height lower in the shock’s stroke, so a spacer or preload lift trades droop for up-travel unless the shock grows with it.
What is RTI and how is it estimated?
The ramp travel index: drive one front tire up a ramp until another tire lifts, divide the distance up the ramp by the wheelbase and multiply by 1,000. On a 20° ramp that’s the raised tire’s height over the wheelbase times sin 20°. Scores from 23° and 30° ramps convert by the ratio of the sines. The page raises one front tire on paper: the frame sits between two roll springs, front and rear, and the softer axle takes more of the cross-up. The climb ends when both axles run out of travel, or when the roll moment lifts a tire on the lighter axle. The model is softened to match the stock truck’s tested score where there is one.
Why keep the sway bars?
A loaded overland truck carries weight high, and the bars are a big part of what keeps it composed in a lane change or a gust. Disconnects count as two states: released on the trail, connected on the road, and the verdict assumes connected for anything on pavement. Every bar choice shows both sides: its ramp score and which axle works, and its body roll on the road against stock, with your roof load from the Roof rack page.
Front bar off, rear bar on?
With the front bar off and the rear on, the rear axle stays close to the frame in roll, so twisting the chassis puts the articulation into the front and the front tires do more of the work of staying down. Tinkerer’s Adventure made this setup the best known one for the Toyota and Lexus IFS trucks. Taking the rear bar off as well doesn’t simply add flex: the rear can follow the frame instead, and owners report rear bars and their links had been acting as limit straps. On a truck carrying roof weight the page leads with a disconnect, which keeps the front bar for the highway, and never suggests pulling the rear bar; when a rear bar does come off it names limit straps, because the coils can unseat at full droop.
What does a semi disconnect do?
Apex’s kwikLYNX and airLYNX leave part of the bar working when released. Apex rates the kwikLYNX at about 80% disconnect and the airLYNX at about 50% at 0 psi, and says the airLYNX never reaches the factory bar’s full rate at 0 psi. The page counts each as free through that share of the axle’s articulation, then the bar’s rate from there on, and labels it as Apex’s figure until owner ramp tests with the link released and clamped replace it.
Why does my rear sit higher empty?
A load-rated coil’s quoted lift is its height with the quoted load on it. Empty, it sits taller, which moves ride height toward droop: less down-travel, more up-travel, and a shock sold for a smaller lift sits closer to full extension. A variable-rate coil runs soft first, so it rises more empty than a linear coil of the same quote. Switch Empty and Loaded for a trip to see both.
What can’t the page see?
Anything that isn’t a suspension part: a fuel tank in a link’s path, a link body closing on the axle tube, a brake hose, an exhaust, a skid. So its travel is a ceiling, and under it sit the limits owners have reported on your truck and its sister platforms. The rear link and panhard bind solver, which works out where links and joints bind from measured mount points, comes in the next version. Type what you measured and it replaces the estimate for that corner.
Where do the figures come from?
Factory travel from the makers’ press material where they print it, factory shock lengths from OE-replacement listings, motion ratios from shops that publish a stroke and travel pair, and every part from its maker’s own page, with retailer figures marked. A maker’s printed figure, like a wheel travel claim or Apex’s disconnect share, is labeled as the maker’s, with our estimate beside it.
Use at your own risk. These calculators are here to help you plan and to inform your decisions, not to sign off on a build. Many numbers are estimates worked out from factory figures, and some factory figures are not yet confirmed. Check every number against your own truck, its manuals and a qualified shop before you buy parts, cut, weld, lift, regear or drive on it. Long Range Desert Tools is not liable for anything you do based on these calculators or their results. The full terms are in our policies.